You can accept payments with Ragic via the service provided by Stripe, enabling others to pay you directly through Ragic sheets such as "Sales Orders", "Invoices", or "Donations".
Note: It is currently not supported in the On-premises Private Server.
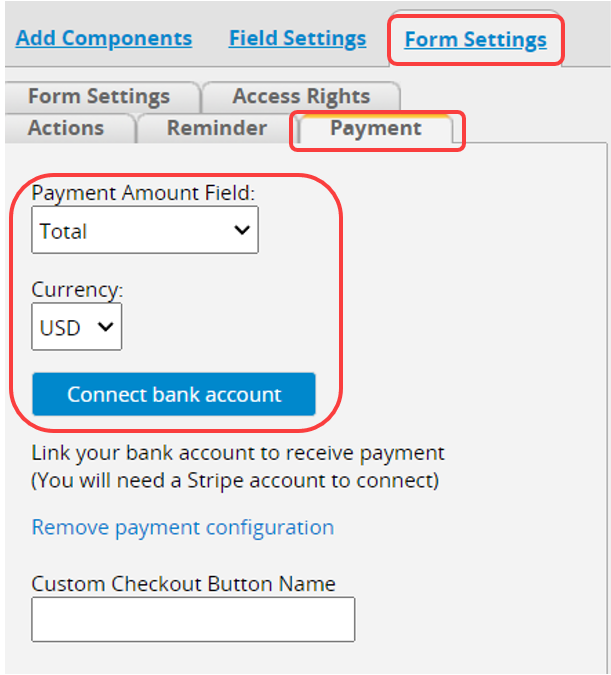
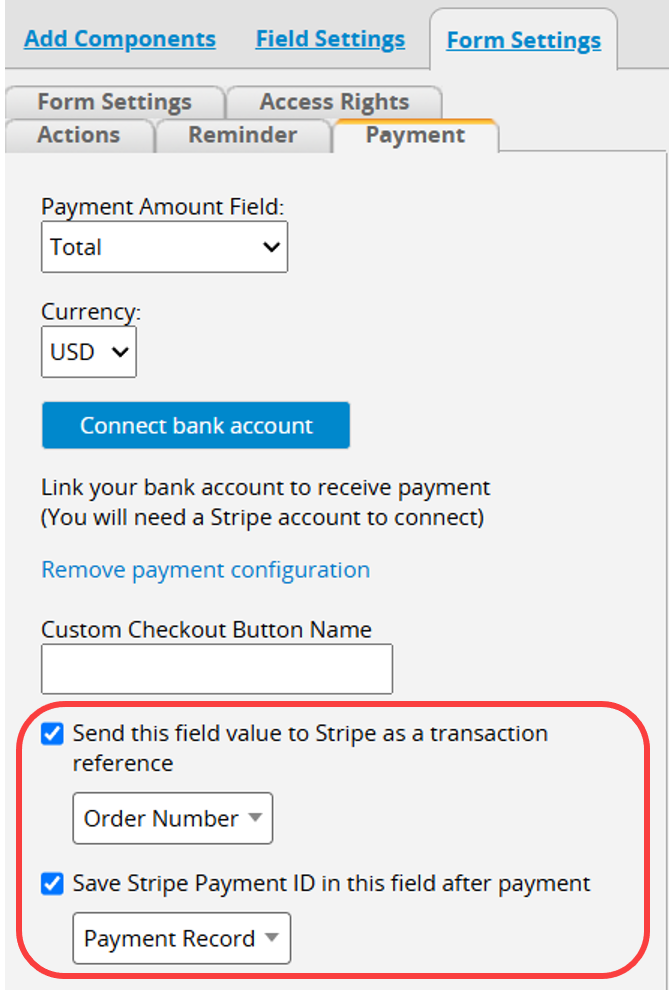
To set up your payment process, navigate to Form Settings under Design Mode in the left sidebar and select the Payment tab. Choose the "Payment Amount Field", set the "Currency", and then click Connect bank account.
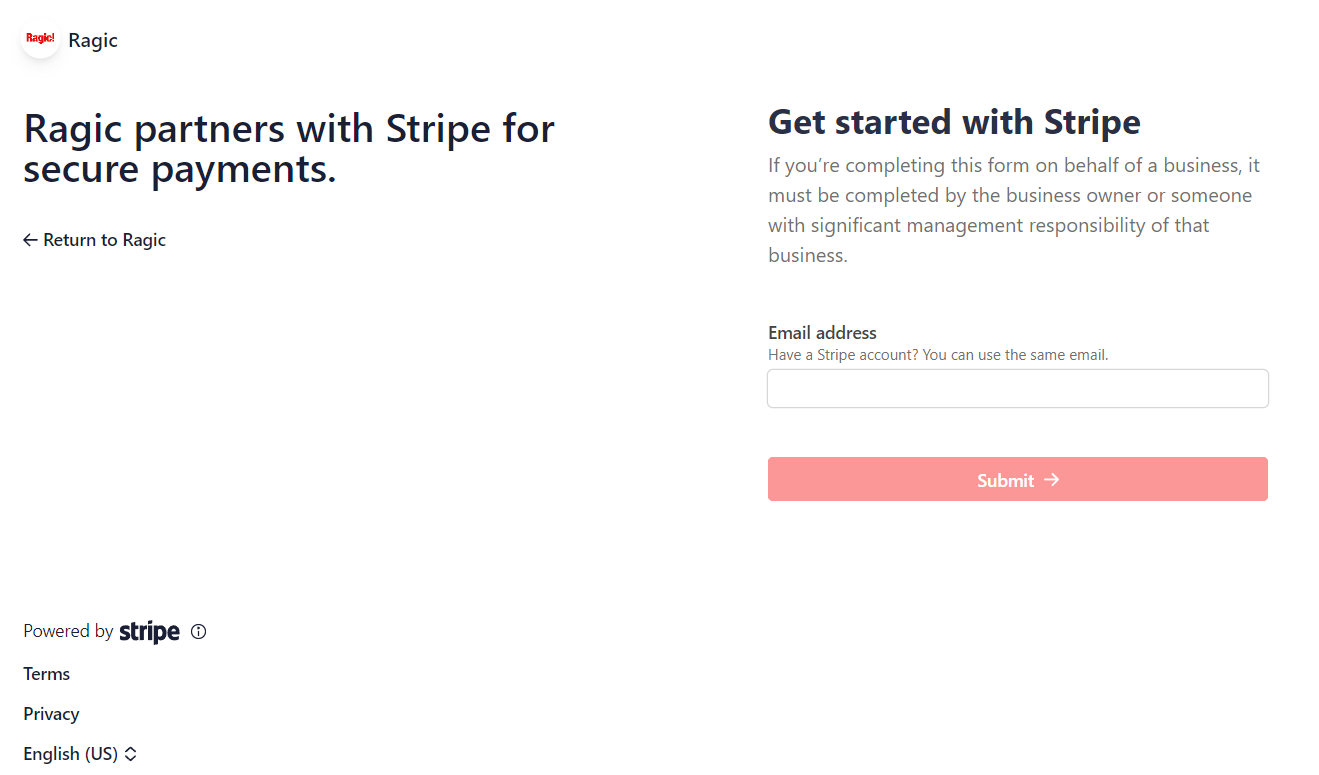
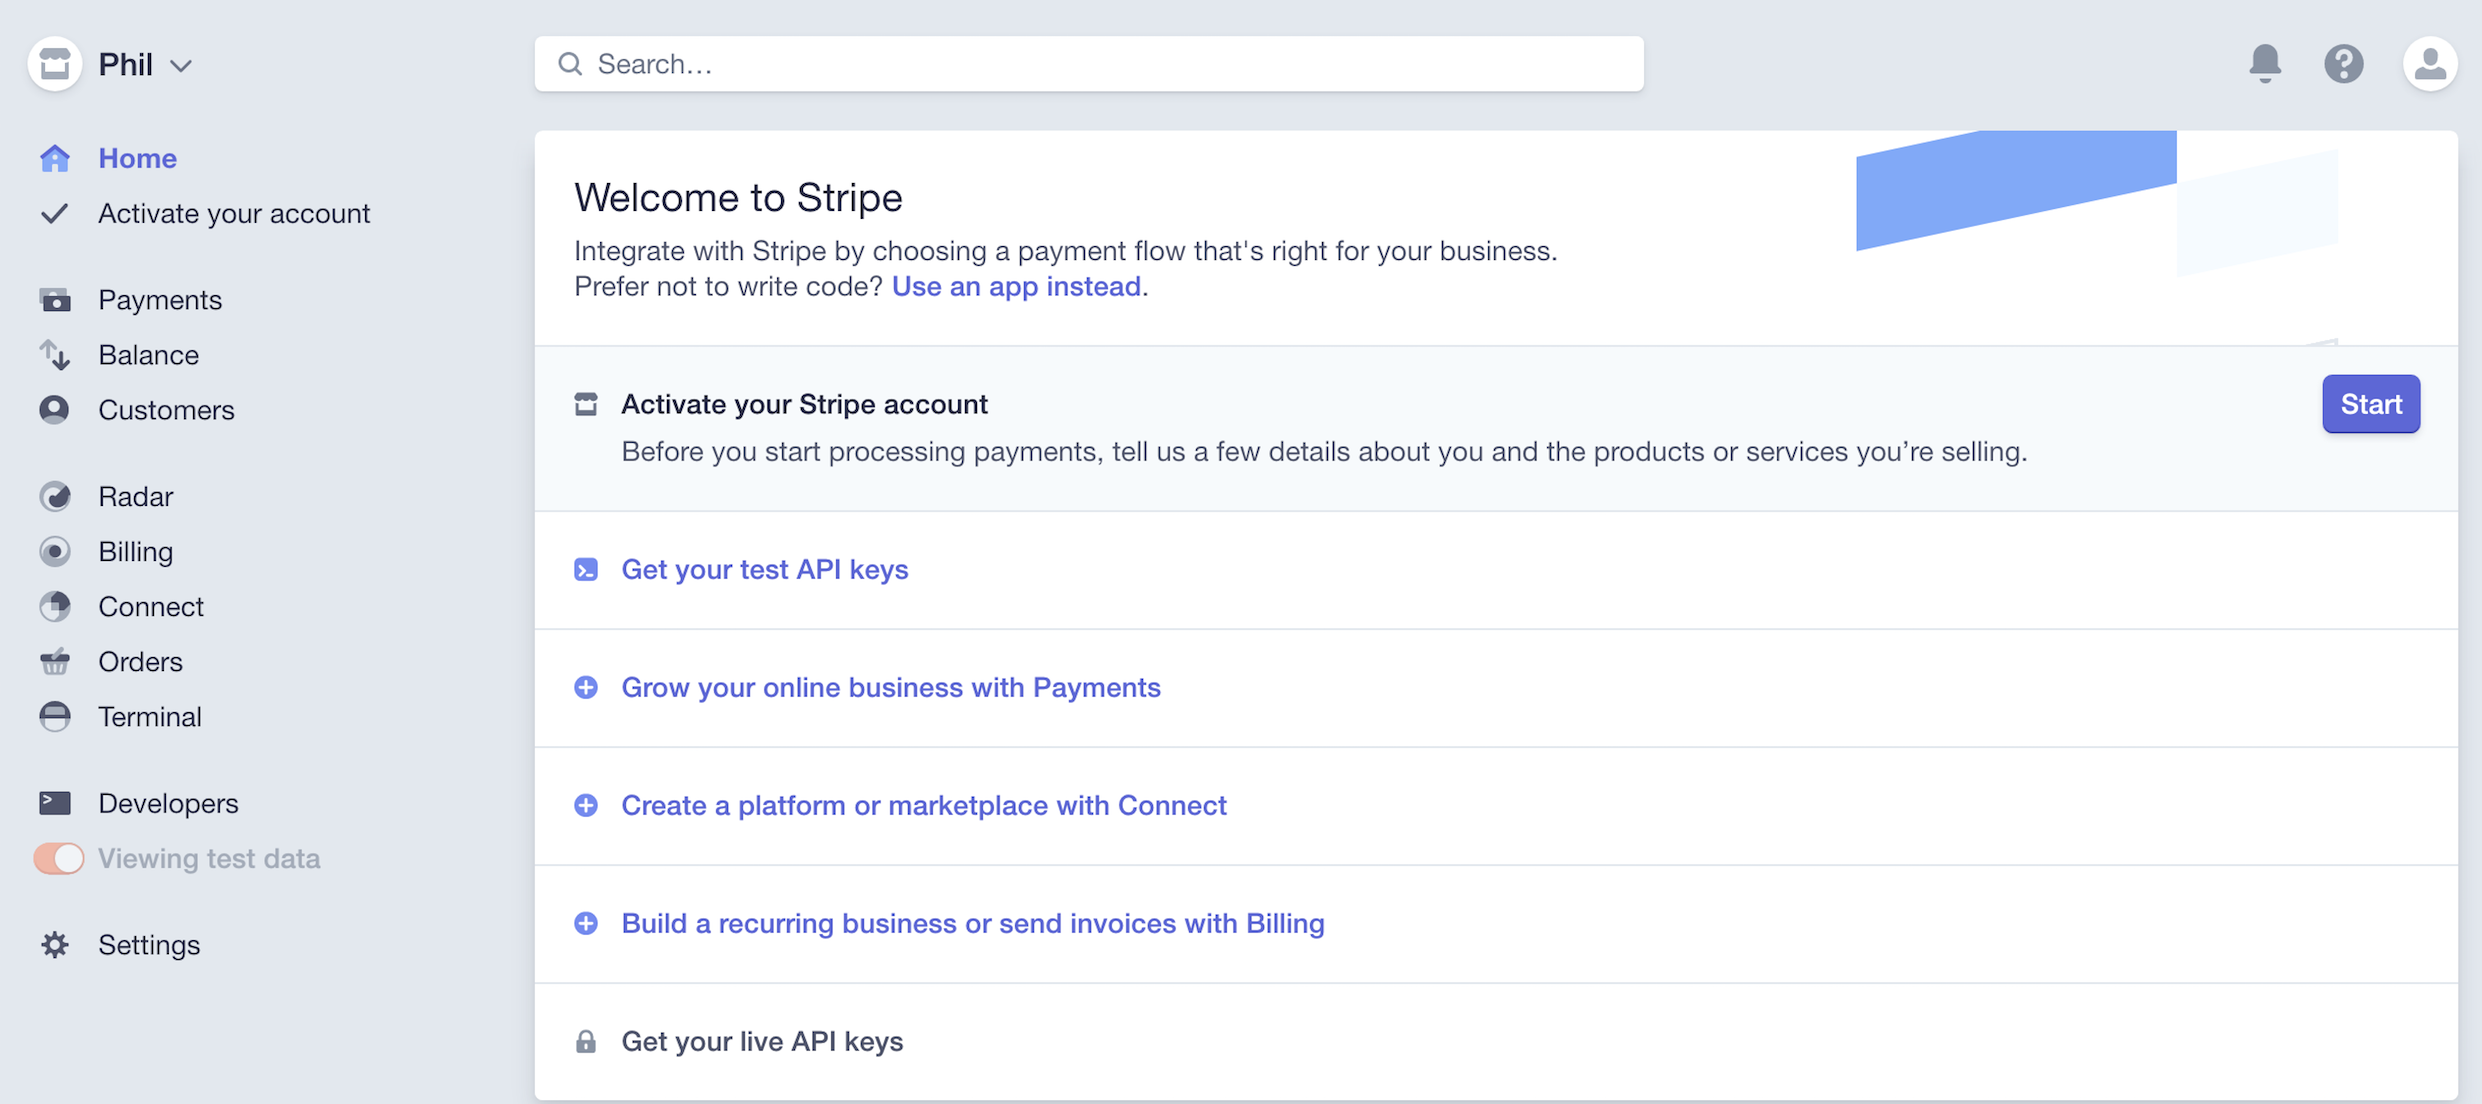
You will be directed to the Stripe account activation page. Follow the instructions to log in or create an account.
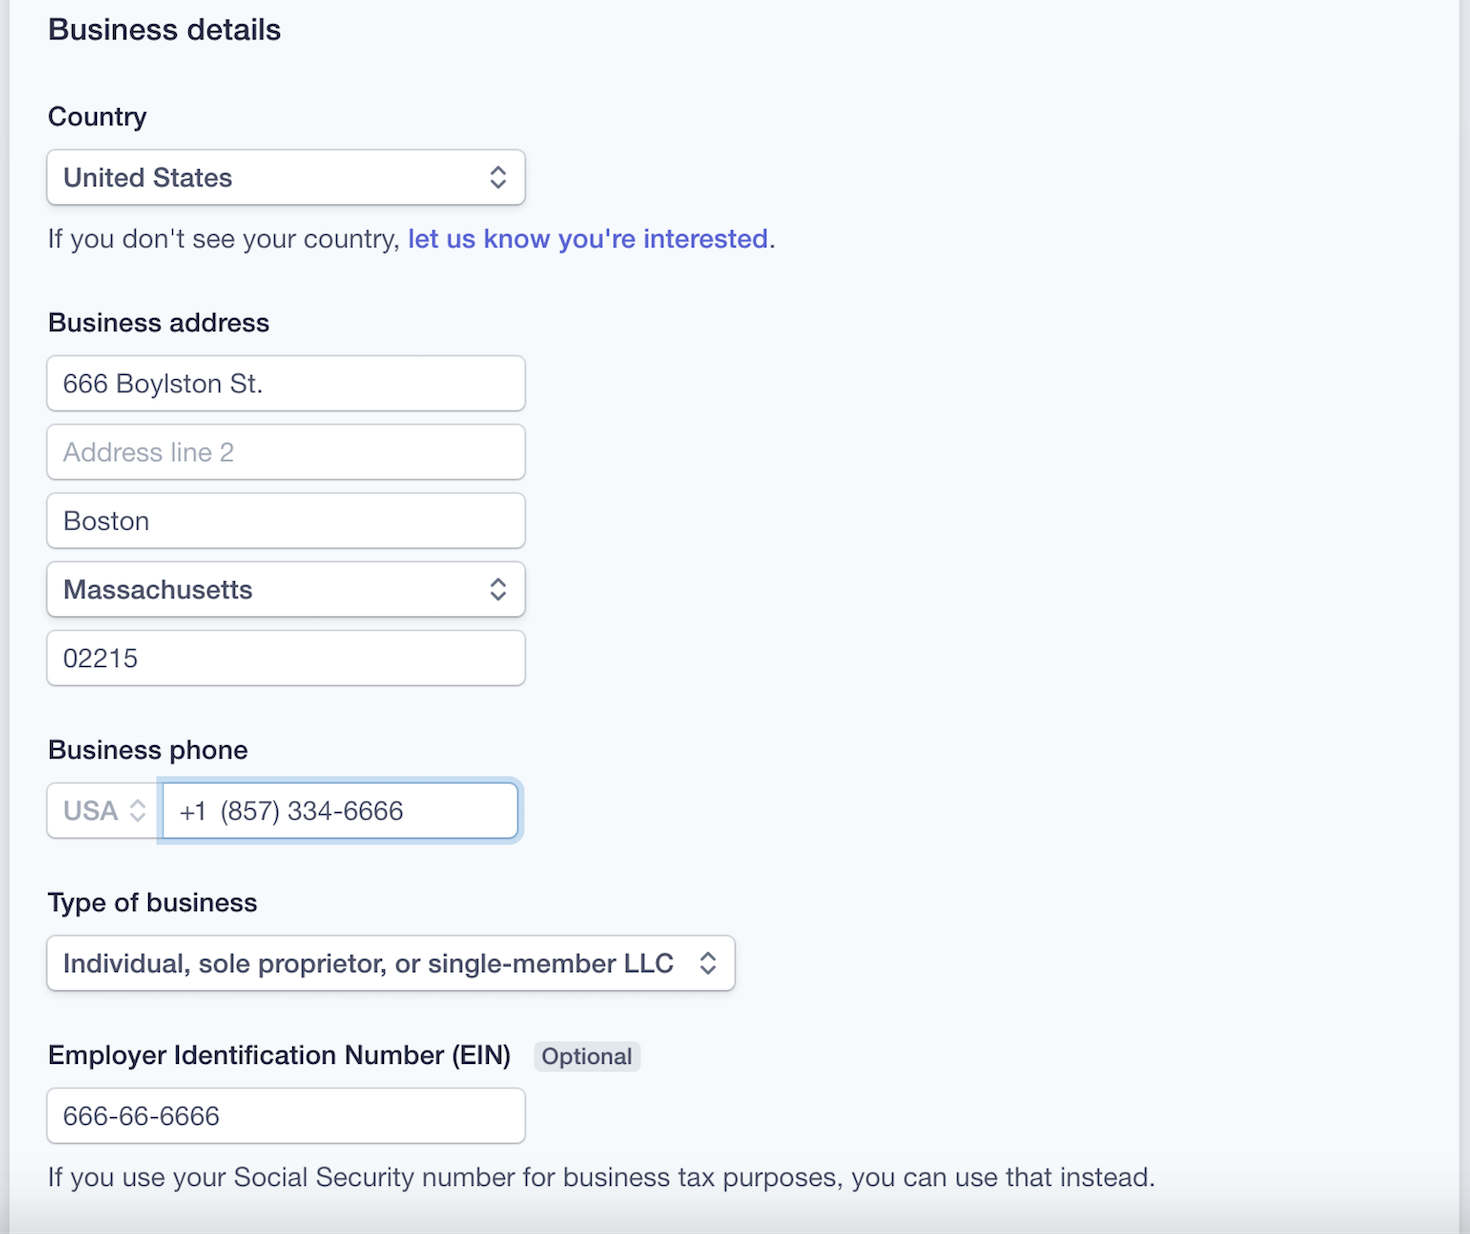
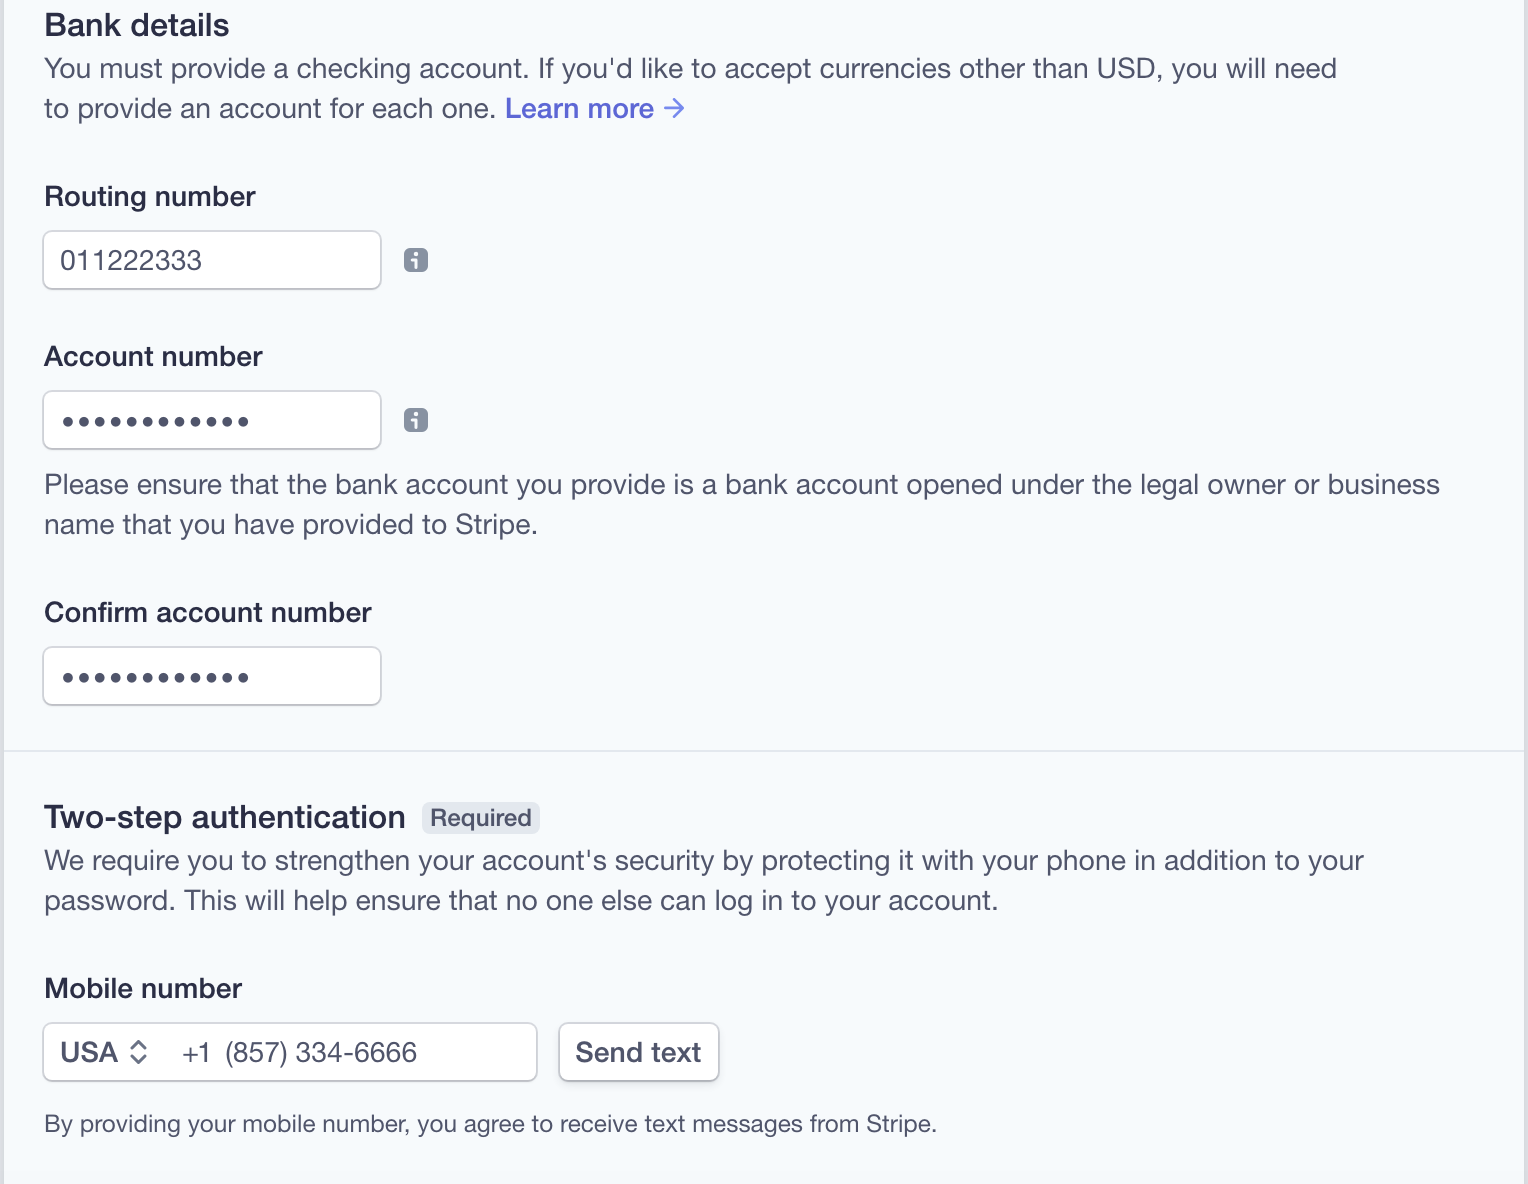
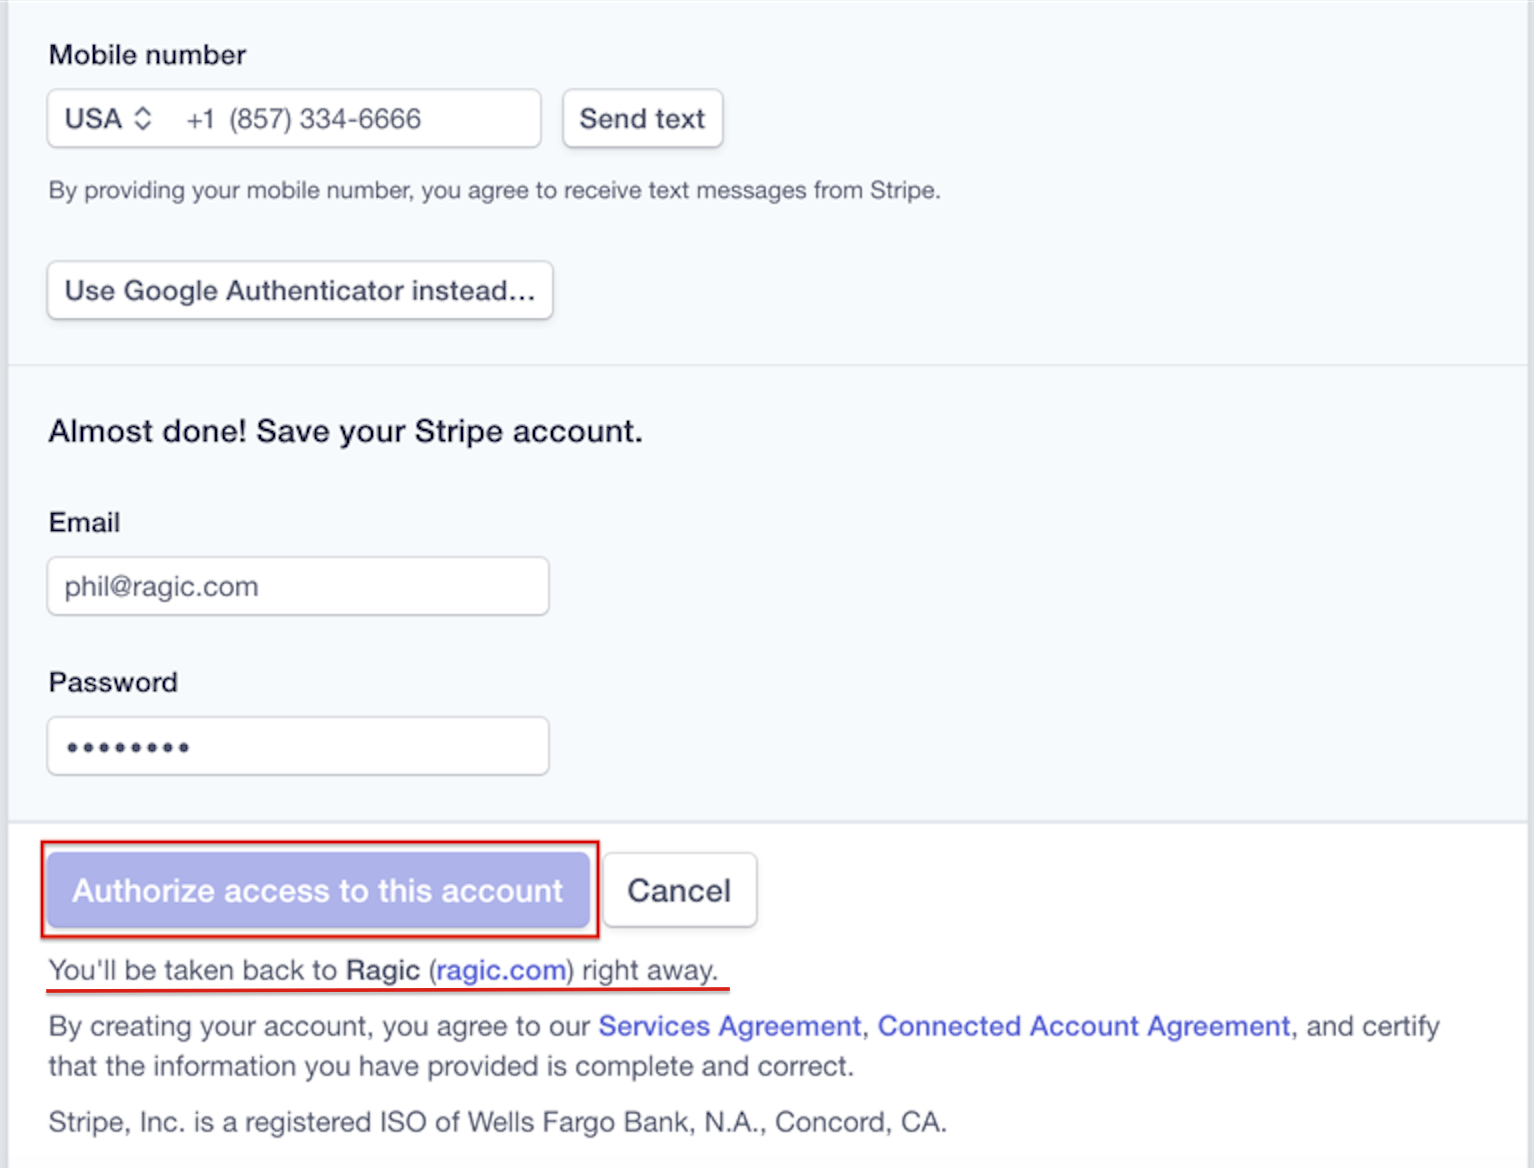
After filling out the required information as instructed, click Authorize access to this account to link with Ragic. You'll then be redirected to Ragic.
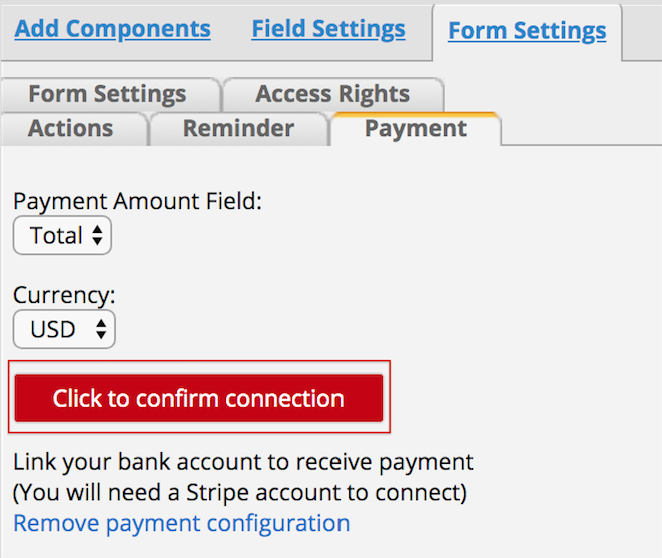
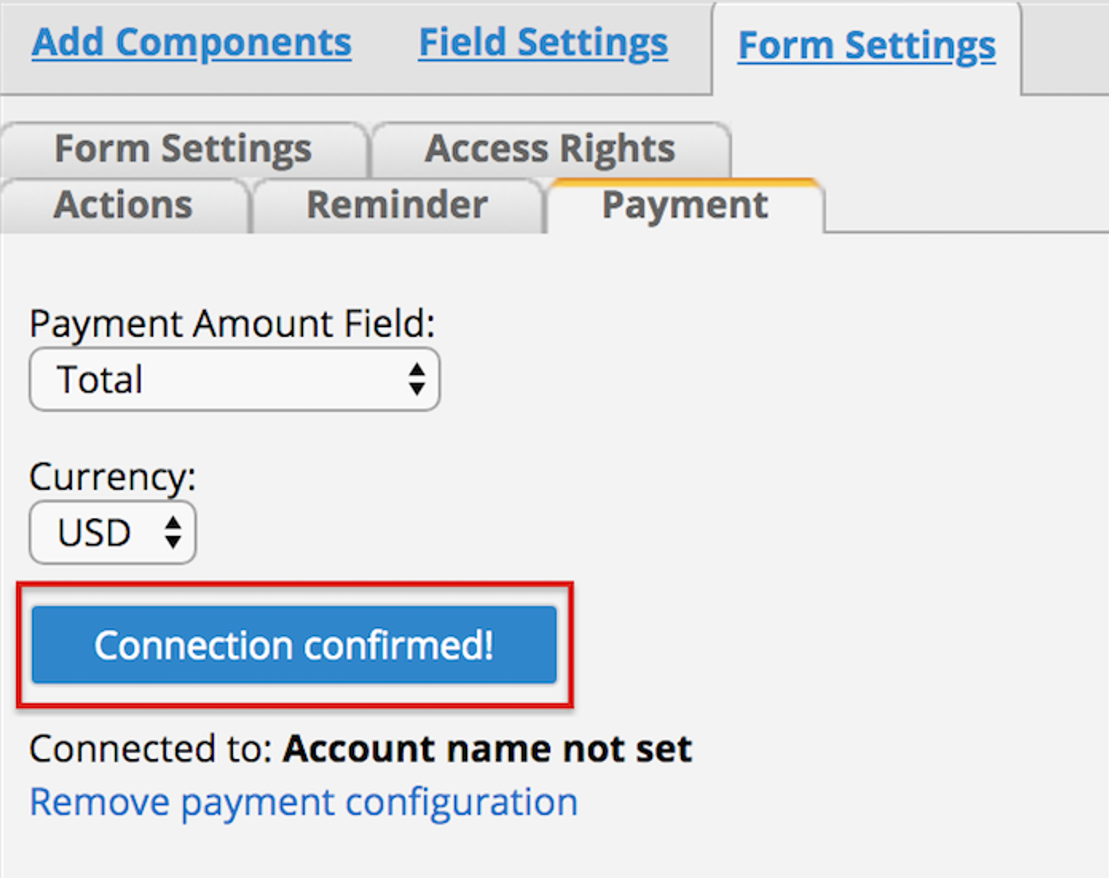
Click the Click to confirm connection button. If the connection is successfully established, you will see the button turn blue and display Connection confirmed!
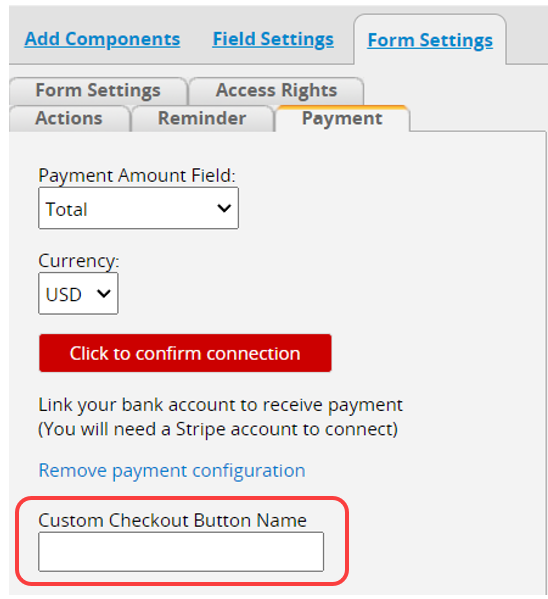
You may customize the payment button name under the Custom Checkout Button Name.
Additionally, to facilitate transaction tracking, you can configure fields for "Send this field value to Stripe as a transaction reference" and "Save Stripe Payment ID in this field after payment".
Remember to save your design.
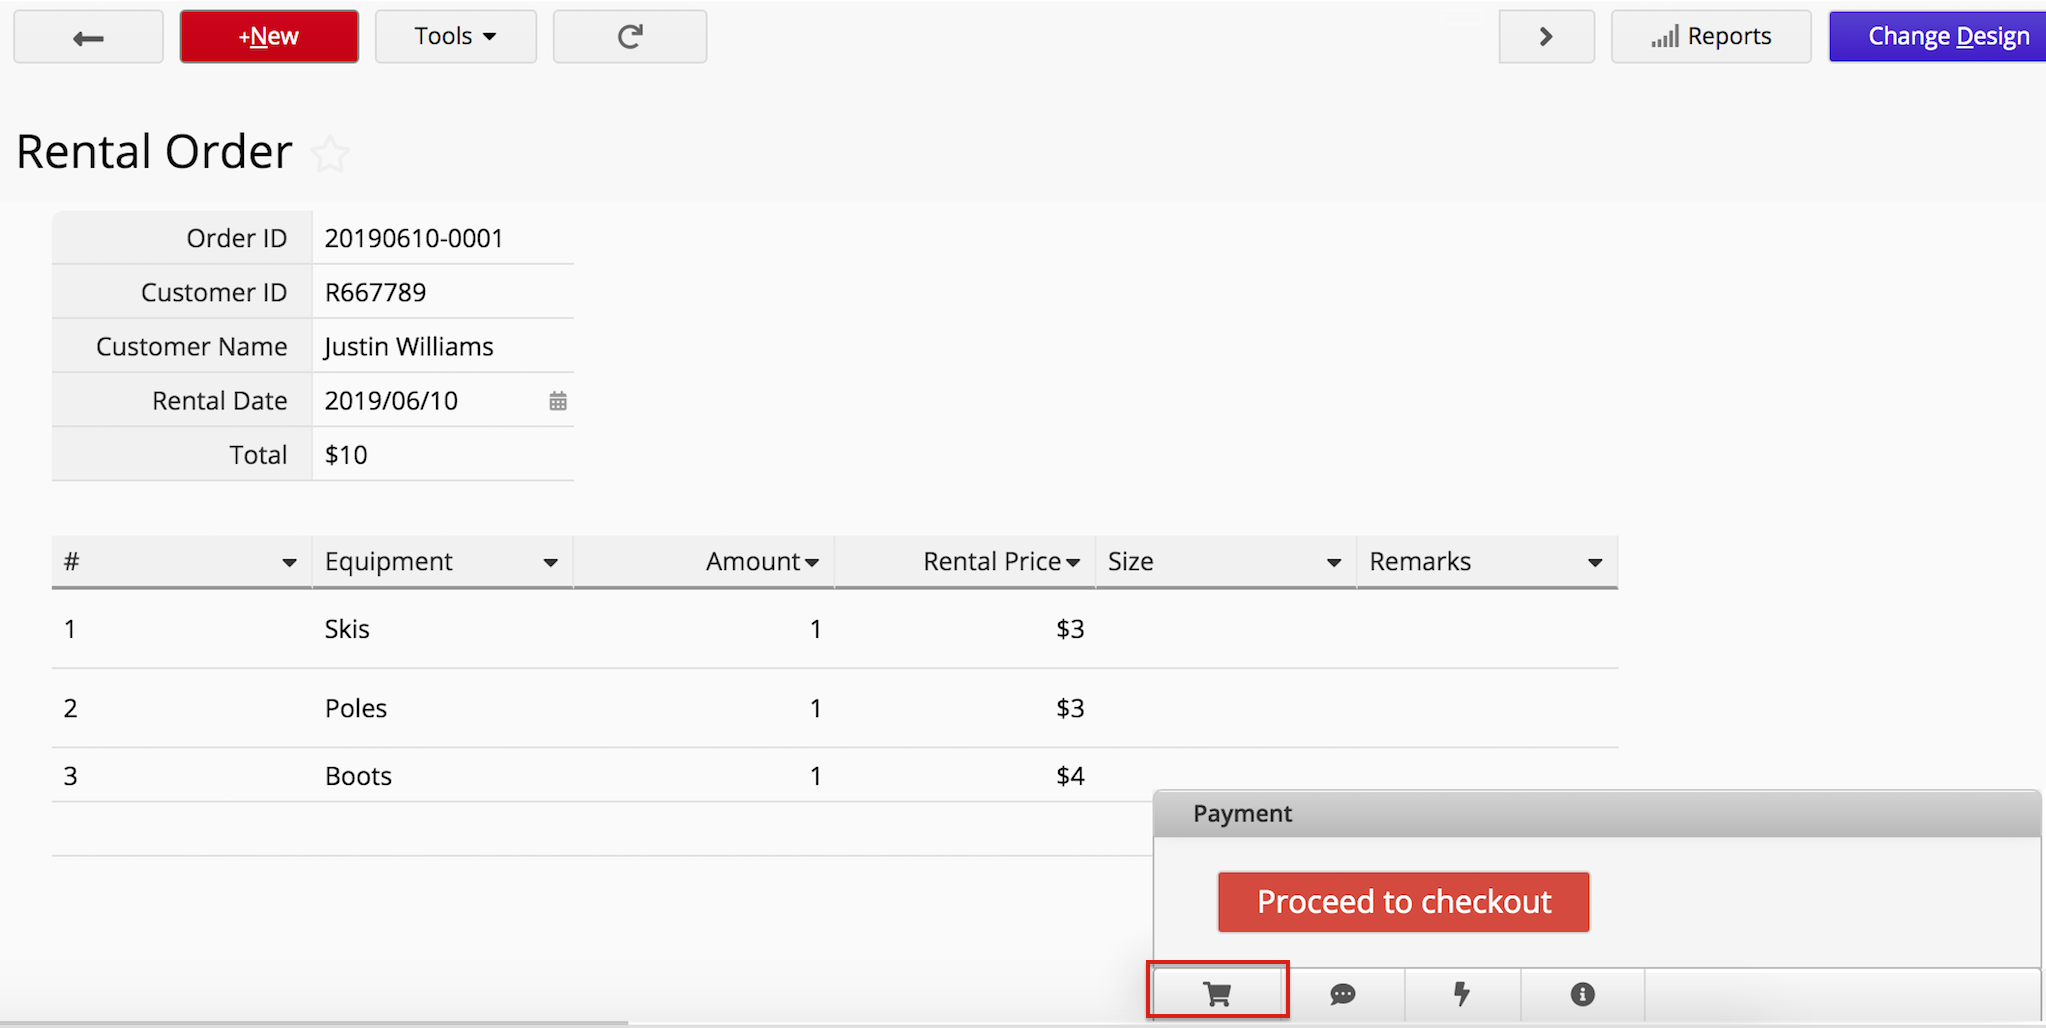
After connecting the bank account, users will see a cart icon in the lower-right corner of the sheet. Clicking it will display the red Proceed to checkout button or a custom-named button.
By pressing that button, users can enter their card information and click Pay now to complete the payment process. 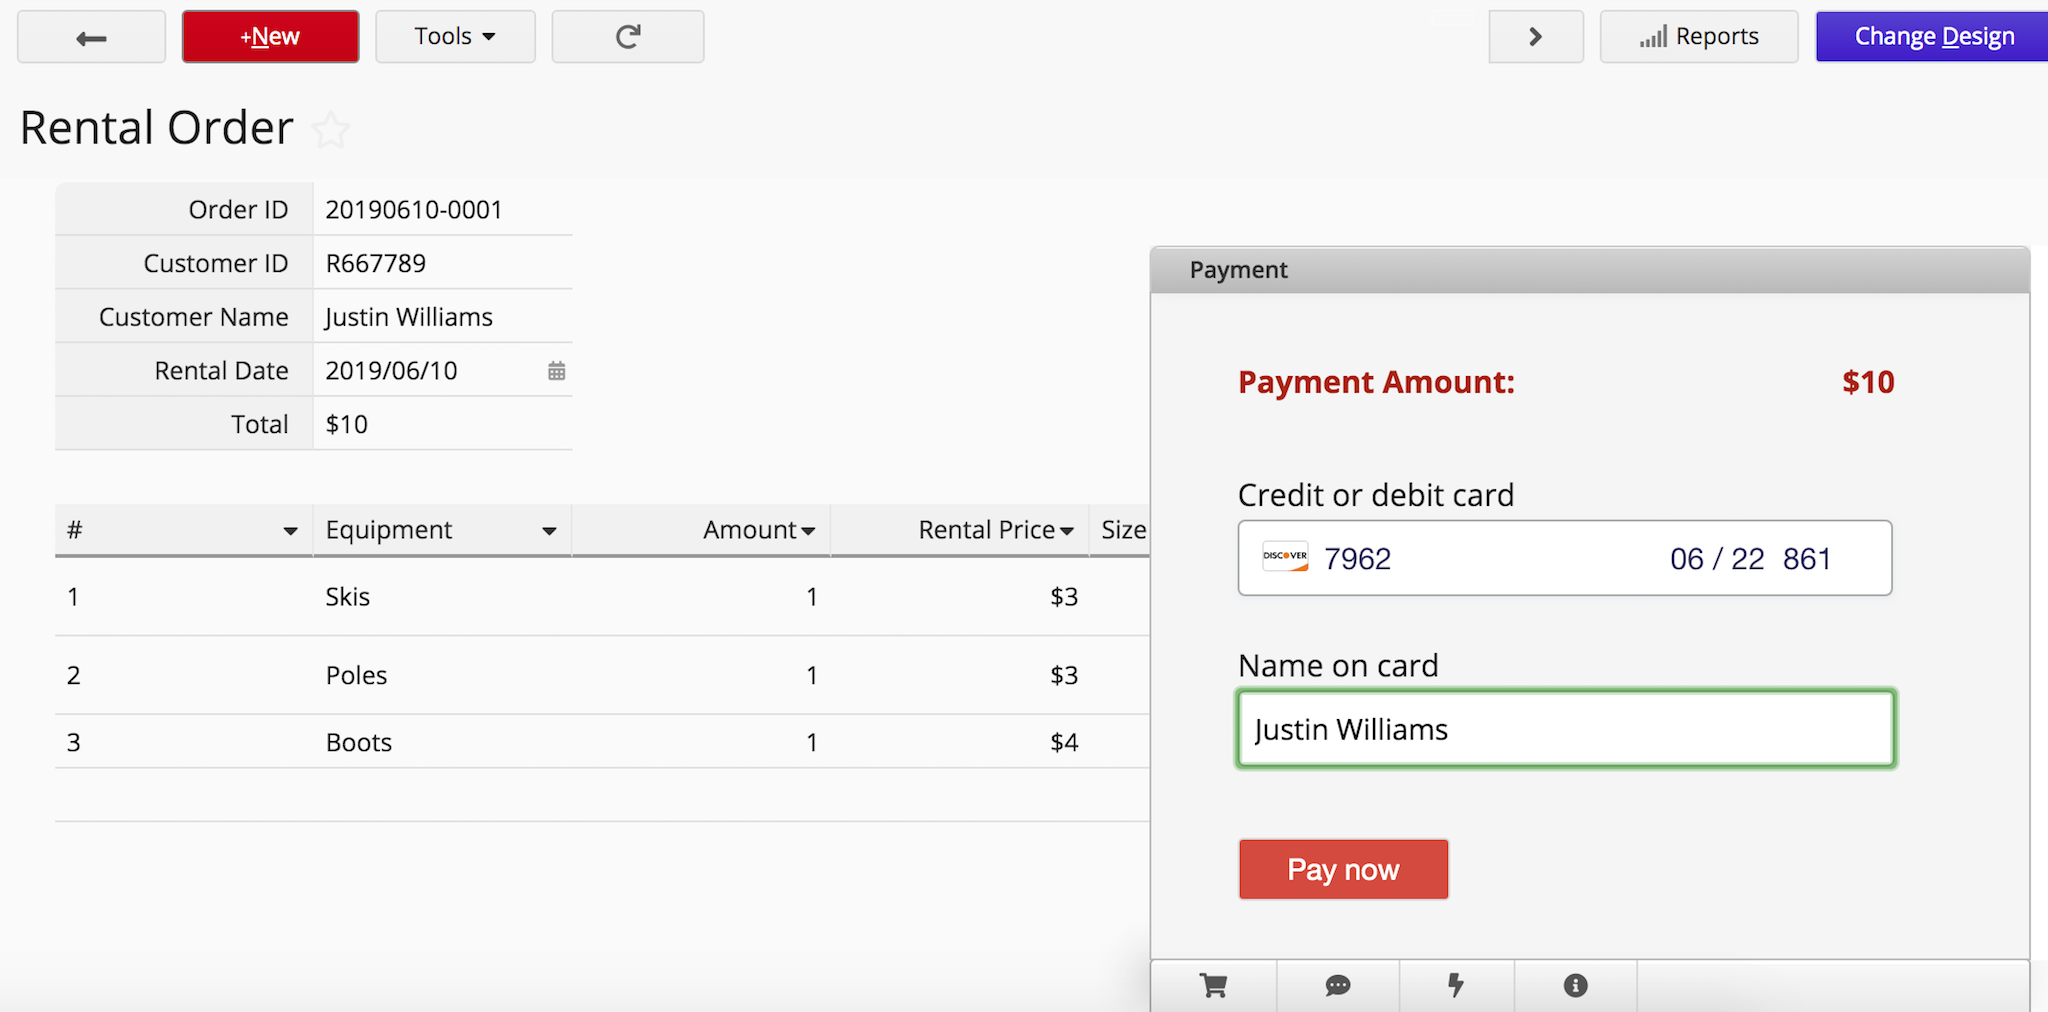
They will be informed whether the payment is successful and the payment date.

You can manage all the payments in Stripe's dashboard.
For more information, please refer to Stripe's Documentation.
 Thank you for your valuable feedback!