You can configure additional field settings apart from a Default Value and a Field Formatting from the Design Mode, under Field Settings > Basic.
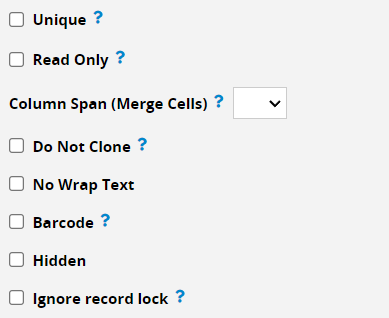
Setting fields to Not Empty indicates that the field value should not be empty. Fields with this attribute will be marked with a "red asterisk" on the upper left side of the field header.

Note: For Not Empty settings in a Subtable, please refer to this article.
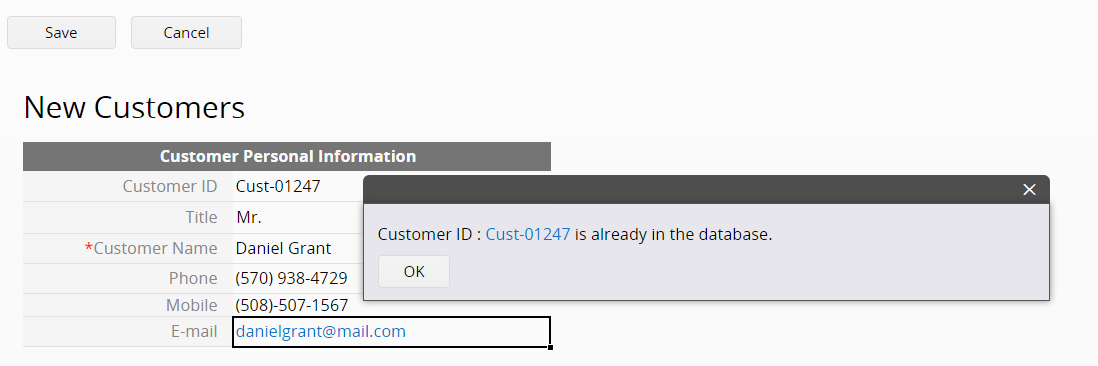
When you set a field as Unique, the value of this field cannot be a duplicate.
This feature is most useful when you want to make sure that you do not register the same thing twice in your database, for example, a username, e-mail, or phone number.
![]()
With this configuration, when a user tries saving a record with the same value for a field marked as Unique, not only would the database prevent the user from saving but will also display a pop-up window that includes a link to the original saved record.
You will see this option in Subtable field settings (different from the Unique attribute of "independent field" settings). Enabling this option will prevent users from entering duplicate Subtable field values within a record, while Subtable values in other records are not affected by this restriction.
![]()
When a field is set as Read Only, the value of this field cannot be manually edited.
![]()
This is useful for fields referenced from another sheet, Auto Generate fields, or those with a Default Value.
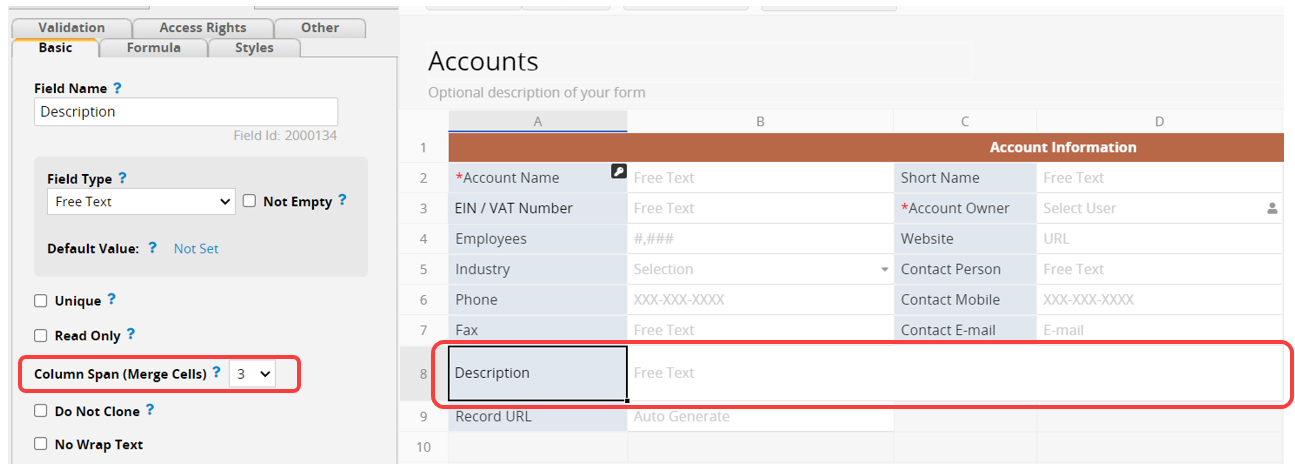
You can Merge Cells to span columns, making a single field look wider.
![]()
It differs from adjusting the height of a row or the width of a column.
If you're creating many records with similar data, using Clone Entry might be a more efficient way than rewriting the data.
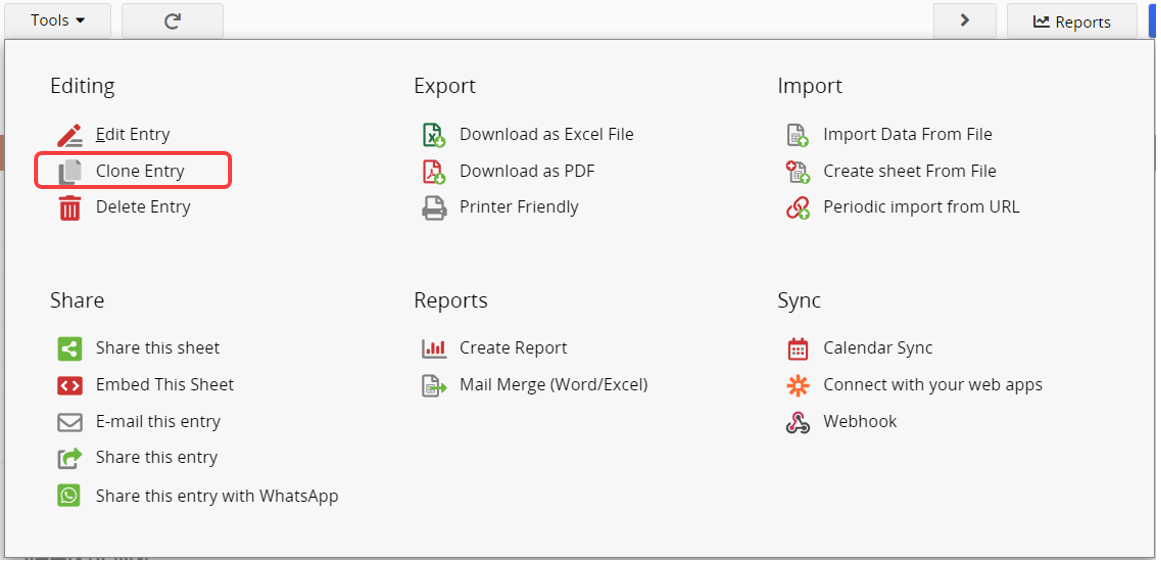
You can specify fields that should not be cloned by marking them as Do Not Clone.
![]()
When this configuration is set, the text in this field won't be wrapped.
![]()
If this function is not enabled and there is no wrapping, please refer to the Line-breaking rules.
![]()
Specifies that the value of this field will be displayed in Barcode (QR Code).
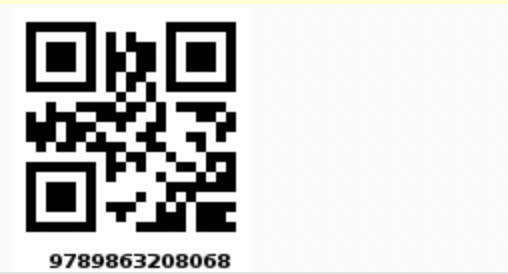
If you would like to generate other types of Barcodes, such as Code 128, you may use the Barcode field type.
Specifies that the field that will be Hidden in the following:
1. Sheet interface
2. Printer Friendly
3. Excel download (and related export options)
4. Web embed form
![]()
If a field doesn't need to be displayed to the user but its value is necessary, such as for constants or Formulas, you can set it as the Hidden field. When used within a Subtable, a Hidden field will create a "gap". Therefore, it's recommended to move Hidden fields to the end of the Subtable.

Note: This setting only hides specific fields in the layout interface. The field data will still be displayed in the change history or record update notifications. Therefore, if you want to hide the field based on different user access rights, it is recommended to use Field Level Access Rights settings.
When enabling this option, this field will remain unlocked after locking the record.

You can add the Field Instruction to help users enter data into the field.
The configuration for Field Instruction can be found on the left sidebar under Design Mode > Field Settings > Other.
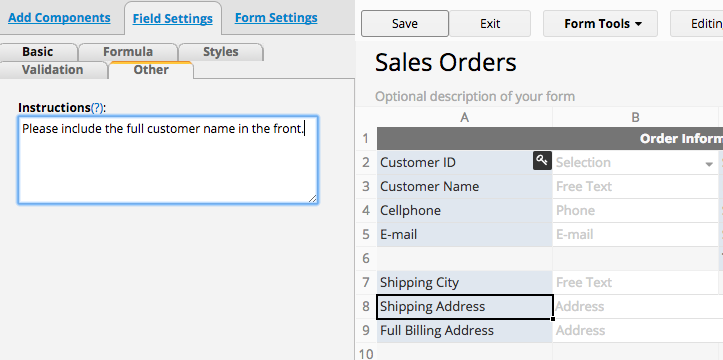
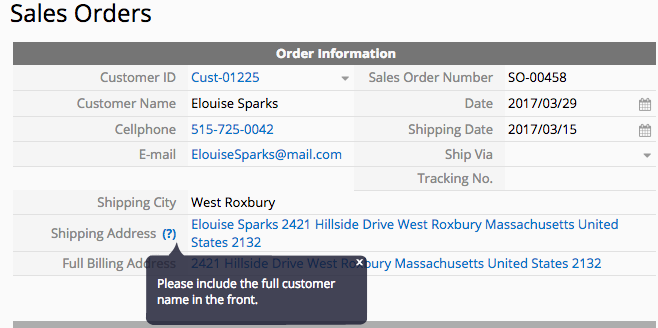
This will add a "(?)" to the field header, and your instruction will show when the user clicks on the "(?)".
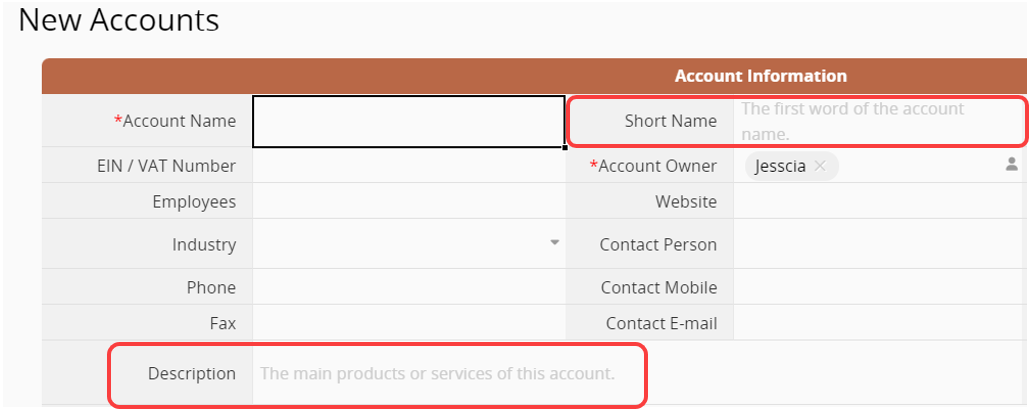
In addition to Field Instruction, you can also add a Placeholder to a field, which will be displayed directly in the field to assist users in entering data. The configuration for the Placeholder can be found on the left sidebar under Design Mode > Field Settings > Other.
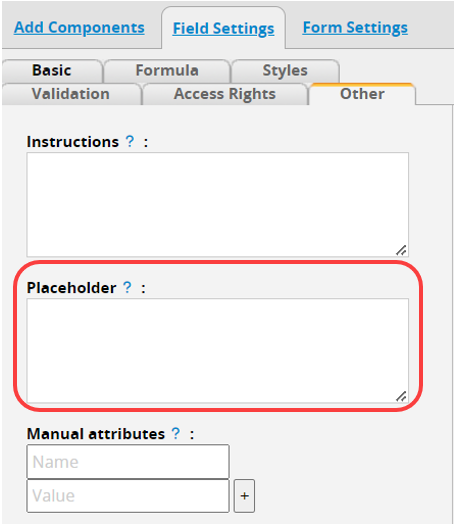
Before entering data, the set text will be displayed in gray within the field to guide users to accurately fill in the data.
Note: Please do not use this feature unless instructed by Ragic support.
To add Manual attributes to a field, enter the Design mode of the Form Page, select the field, and navigate to Field Settings > Other > Manual attributes on the left sidebar.
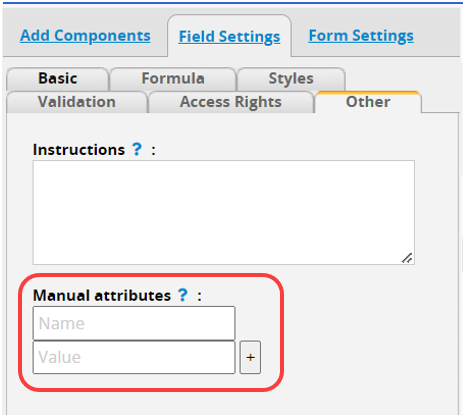
After entering your parameter into the Manual attributes configuration, click the "+" button next to it.
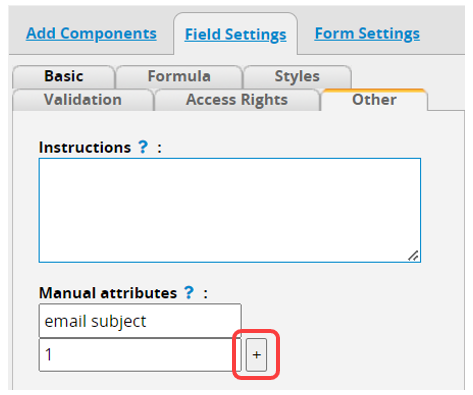
You might notice the entered parameter is now cleared, which means it has been added to the field.

Don't forget to Save before exiting.
To remove an attribute, simply try to add an empty attribute value and the attribute will be removed.
 Thank you for your valuable feedback!